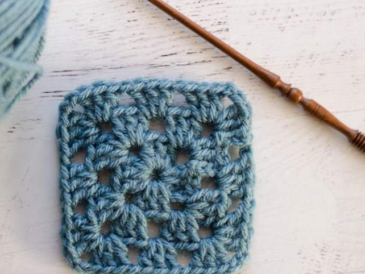
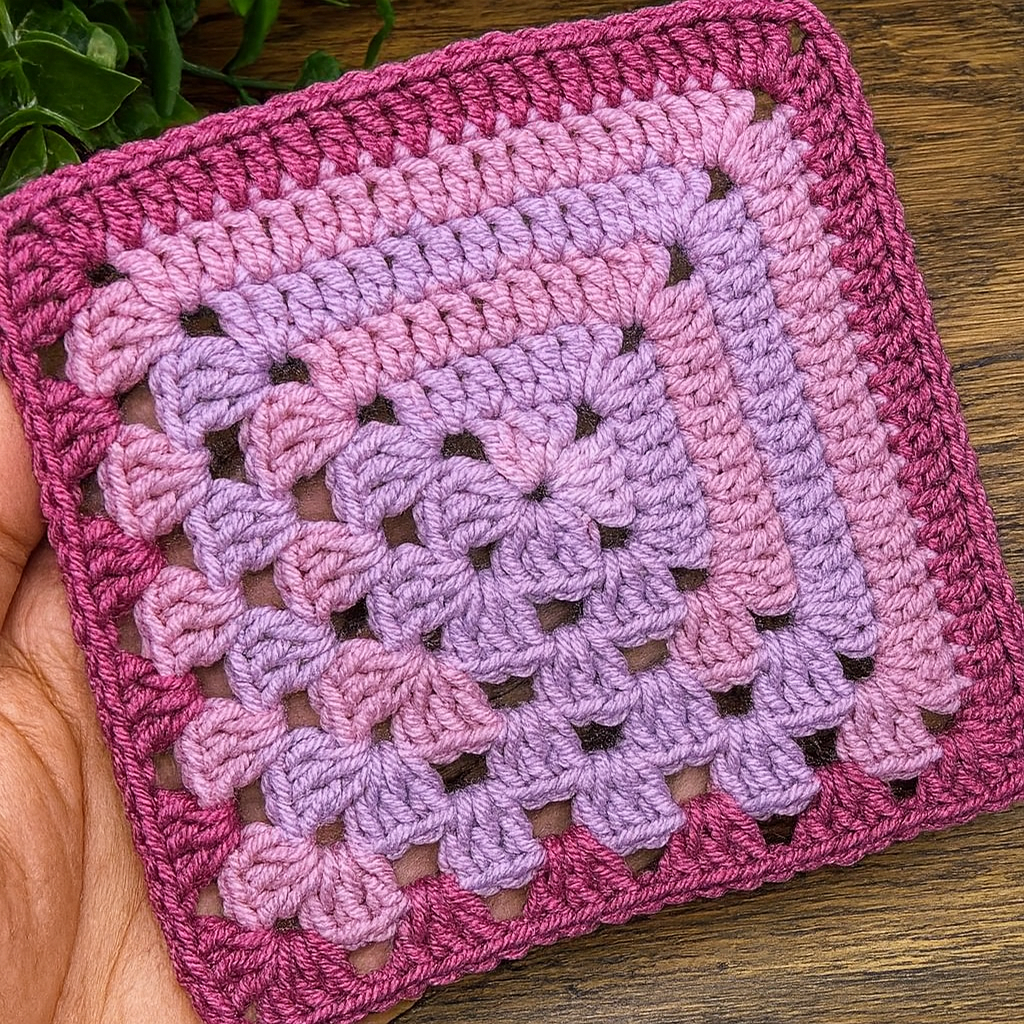
Crochet squares are among the most beloved motifs in the world of crochet. They’re versatile, timeless, and perfect for so many projects from cozy blankets and cushion covers to stylish bags and table runners. Today, we’ll learn how to make a Beautiful Crochet Square Pattern that combines open granny sides with solid sides, giving your square a stunning texture and unique look.
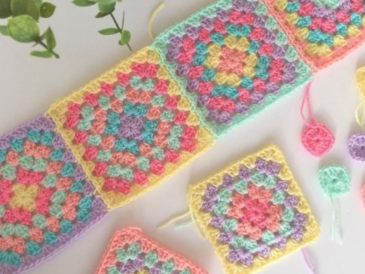
This design is ideal for those who want to move beyond the traditional granny square and add a modern twist to their work. Whether you use soft pastel colors or bold contrasting shades, this pattern will highlight the beauty of your stitches. It’s a relaxing project that works up beautifully and can be joined with other squares to create a striking crochet piece for your home or as a heartfelt handmade gift.
🧶 Materials
-
Any medium weight yarn (category 4) – choose your favorite color combinations!
-
Crochet hook: 4 mm (or the size recommended for your yarn)
-
Scissors and yarn needle for weaving in ends
🪡 Abbreviations (US Terms)
-
CH – Chain
-
DC – Double Crochet
-
SL ST – Slip Stitch
-
SK – Skip
-
ST – Stitch
🌼 Crochet Instructions
Row 1
Make a circle (you can use a magic ring or chain 4 and join).
CH 3, 2 DC into the center of the circle, CH 3,
*3 DC into circle, CH 3, repeat from * two more times, SL ST into the first DC stitch made in this row.
You’ll now have 4 sides of 3 DC and 4 corners made of CH 3.
Row 2
(Start at any previous corner space)
CH 3 (counts as 1 DC), 2 DC into the same space,
*CH 2, SK 3 STs to the next corner space, (3 DC, CH 4, 3 DC) into that corner space, CH 2, SK 3 STs to the next corner space, (3 DC, CH 3, 2 DC) into that corner space.
1 DC into each ST until you reach the next corner space,
(2 DC, CH 3, 2 DC) into that corner space,
1 DC into each ST until you reach the next corner space,
2 DC, CH 4, SL ST into 1st CHs made to complete this row.
Now your square will have two open granny sides and two solid stitch sides.
Row 3
(Have your square positioned with the Granny sides on the left and the Solid sides on the right.)
(Start at the top right corner space)
CH 3 (counts as 1 DC), 2 DC into the same space.
Granny Side:
CH 2, SK 3 STs to the next CH space, 3 DC into that space.
Repeat from * for the rest of this side.
Next Corner:
(3 DC, CH 4, 3 DC) into that corner space.
Granny Side:
CH 2, SK 3 STs to the next CH space, 3 DC into that space.
Repeat from * for the rest of this side.
Next Corner:
(3 DC, CH 3, 2 DC) into that corner space.
Solid Side:
1 DC into each ST until you reach the next corner space.
Next Corner:
(2 DC, CH 3, 2 DC) into that corner space.
Solid Side:
1 DC into each ST until you reach the next corner space.
Last Corner:
2 DC, CH 4, SL ST into 1st CHs made to complete this row.
You can now repeat Row 3 to make your square as large as you like!
🎨 Color Suggestions
-
Classic Look: Cream, soft beige, and taupe for a neutral, timeless style.
-
Vibrant Pop: Coral, turquoise, and yellow for a summer vibe.
-
Elegant Palette: Lilac, ivory, and gray for a modern home decor look.
-
Rustic Feel: Mustard, terracotta, and forest green for cozy autumn projects.
🪞Ideas for Use
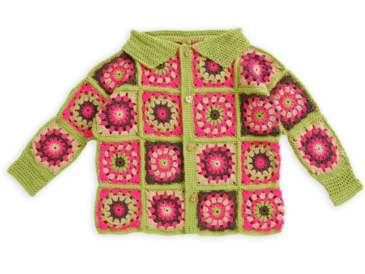
This beautiful square can be used in countless ways:
-
Join multiple squares for a vibrant blanket or throw.
-
Create decorative pillow covers for your sofa.
-
Make table runners, placemats, or bags with a touch of handmade beauty.
-
Combine different yarn textures for a creative, personalized piece.