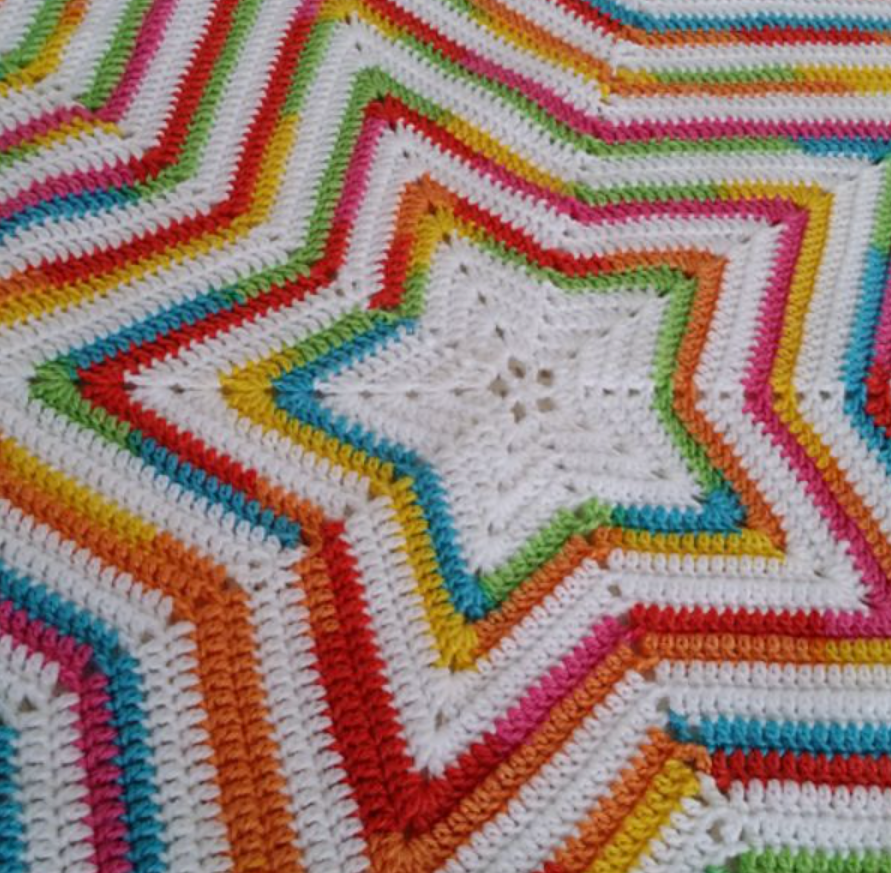
There’s something magical about crocheting a star blanket. It’s not just a project; it’s a journey into a world of cozy stitches and celestial beauty. Whether you’re a beginner or an experienced crocheter, this star blanket pattern will transport you to a dreamy realm of creativity. The rhythmic repetition of stitches, the gentle flow of yarn, and the satisfaction of watching your star grow will make this project a favorite in your crochet repertoire.
Star blankets are more than just functional pieces; they’re works of art. Their unique shape and intricate design make them perfect for adding a touch of whimsy to any space. Imagine draping this blanket over a rocking chair in a nursery, gifting it to a loved one, or snuggling under it on a chilly evening. The possibilities are endless, and the joy of creating something so beautiful is unmatched.
In this article, we’ll guide you through the steps to create your own dreamy star blanket. We’ll also share some enchanting color combinations and ideas for where to use your finished masterpiece. So grab your hook, choose your favorite yarn, and let’s embark on this celestial crochet adventure together!
Measurements
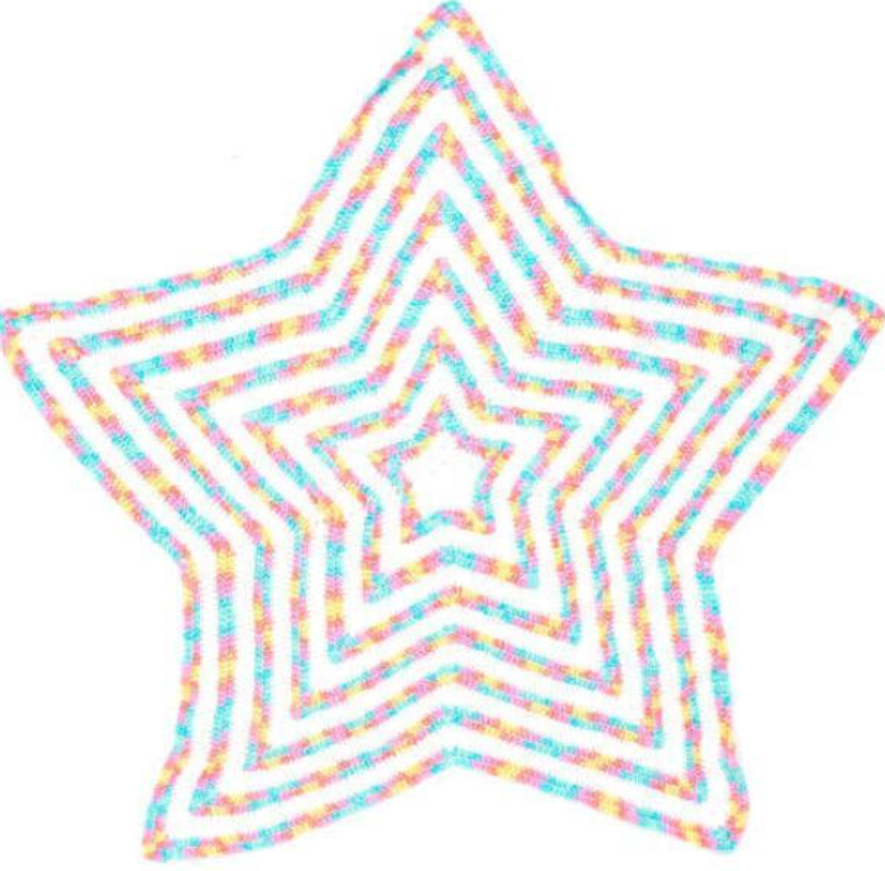
My star blanket measured 85cm by 85cm from point to point. However, the beauty of this pattern is its versatility. You can continue working the repeating pattern to create a larger or smaller blanket, depending on your preference.
Gauge
While gauge isn’t critical for this project, mine was 6x6cm = 8 stitches over 5 rows. Feel free to adjust your tension or hook size to achieve the desired drape and texture.
Stitches and Abbreviations
This pattern uses US crochet terms:
- CH: Chain
- SC: Single crochet
- DC: Double crochet
- FO: Fasten off
- SL ST: Slip stitch
- SK / SK ST: Skip / Skip stitch
- ST: Stitch
Pattern
Round 1:
- CH 4 and join with a SL ST to form a circle.
- CH 6 (counts as first DC and CH 3), DC and CH 3 into the circle 4 times (creating 5 CH 3 spaces). SL ST to the 3rd CH of your CH 6.
Round 2:
- SL ST into the next CH 3 space.
- In this CH space: CH 3, 2 DC’s, CH 2, 3 DC’s.
- Into each CH space: (3 DC’s, CH 2, 3 DC’s), SL ST to the top of the CH 3 and FO.
Round 3:
- Attach a new color to the next DC, CH 3, and DC into the next DC.
- In the next CH 2 space: (3 DC’s, CH 2, 3 DC’s), DC in the next 2 DC’s, SK the next 2 DC’s, and DC in the next 2 DC’s. Repeat to 3 times.
- In the last CH 2 space: 3 DC’s, CH 2, 3 DC’s, DC in the next 2 DC’s, SK the next 2 DC’s, and SL ST to the top of the CH 3.
Continue the pattern, ensuring you SK the 2 DC’s between each side. Each side will increase by 2 DC’s (e.g., round 3: 5 DC’s, round 4: 7 DC’s, etc.).
For the final round, SC in every ST around (including the SK ST’s from the last round). Weave in ends when complete.
Suggested Color Combinations
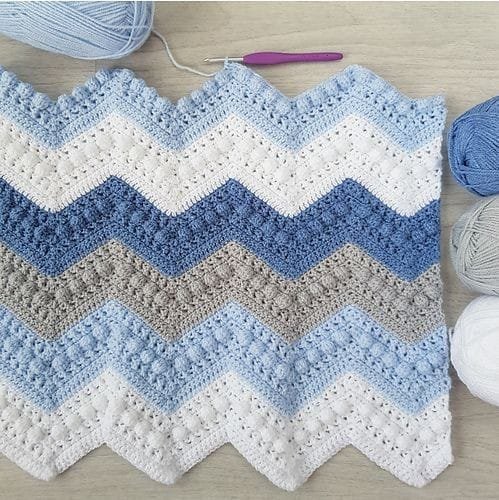
- Moonlit Night: Shades of deep blue, silver, and white for a celestial vibe.
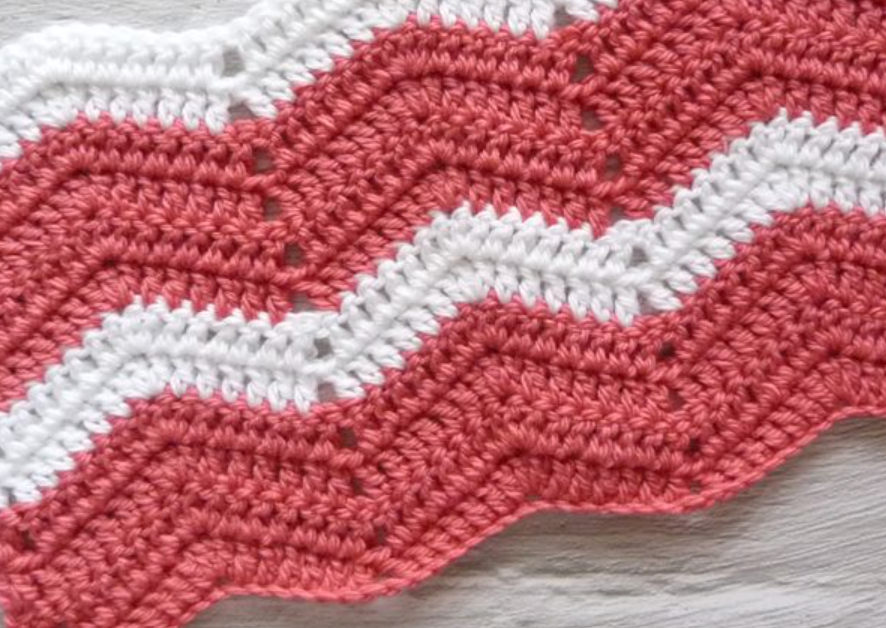
- Sunset Glow: Warm tones like orange, pink, and gold for a cozy, inviting feel.
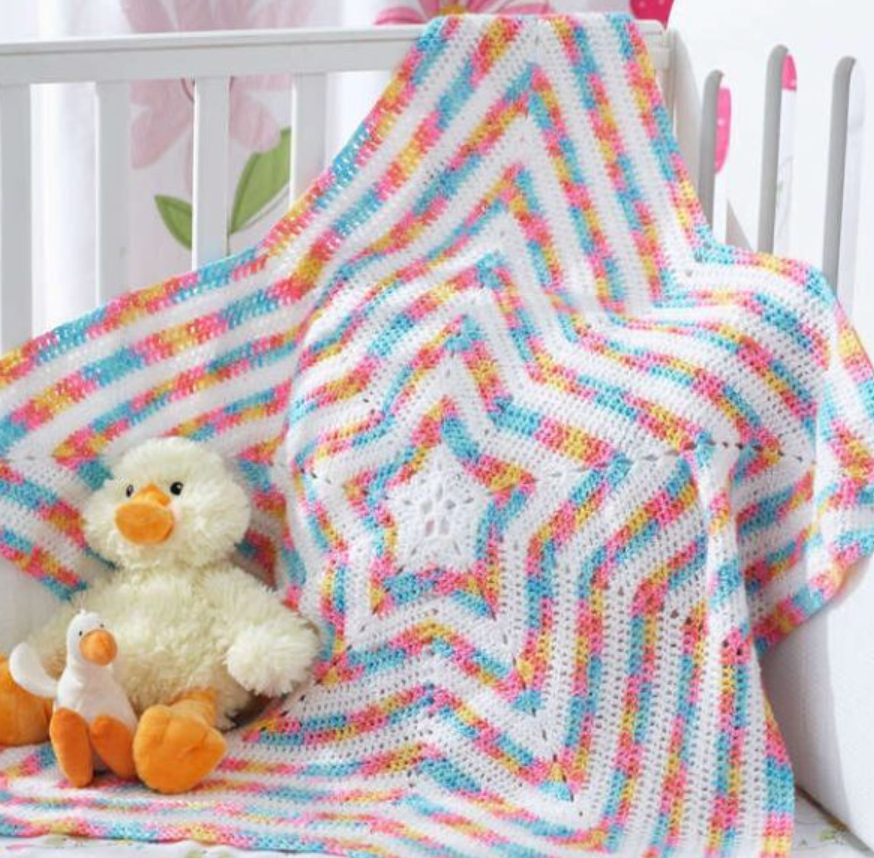
- Pastel Dreams: Soft lavender, mint, and blush for a nursery or springtime look.
Where to Use Your Star Blanket
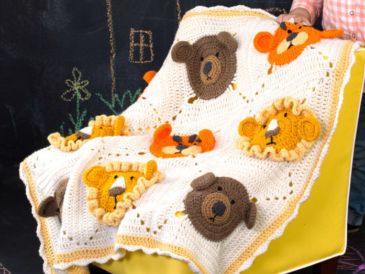
- Nursery Decor: Drape it over a crib or rocking chair for a magical touch.
- Gift Idea: Perfect for baby showers, birthdays, or housewarmings.
- Cozy Nights: Use it as a throw blanket for your couch or bed.
Looking for more cozy inspiration? Below, you’ll find a dedicated category filled with beautiful blanket patterns to spark your creativity. Whether you’re a beginner or a seasoned crocheter, there’s something for everyone to dream up and create!
Access the category/ Crochet Blanket
Let your imagination soar as you create your dreamy star blanket. Happy crocheting!